Get started quickly
This page takes Note App as an example to introduce how to use the UI automation function.
TIP
If you only use the remote control function, you can skip this page.
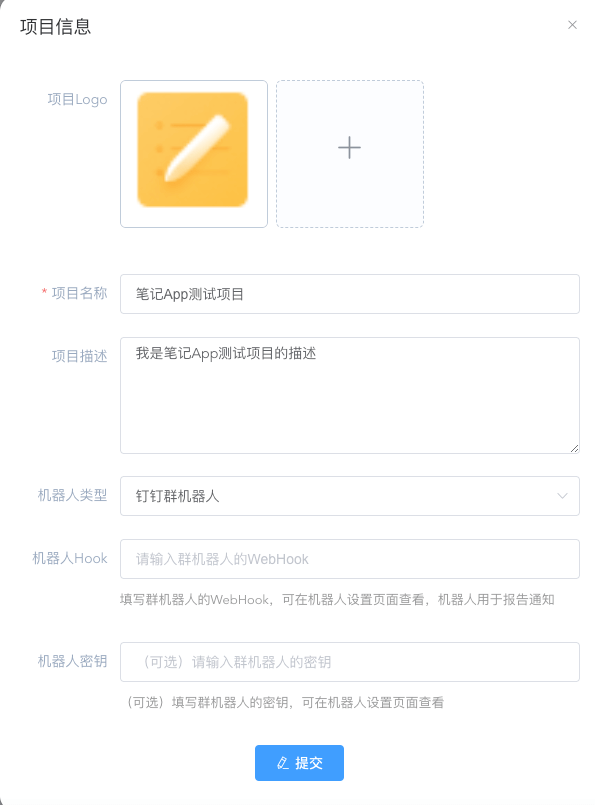
Create project
Create a project for your app under test.
Start remote control
note
If you don't know how to access the device, you can go to deployment document
After accessing the device, click to use it immediately
Binding project creation use case
Click the [UI Automation] tab
After selecting a project, click [Add Use Case]
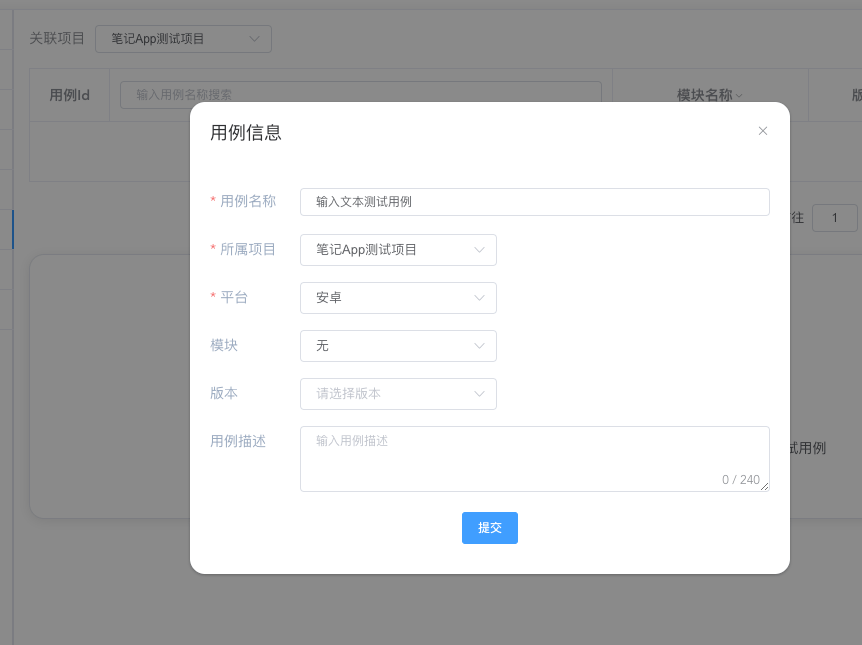
Click the created use case, the binding is complete
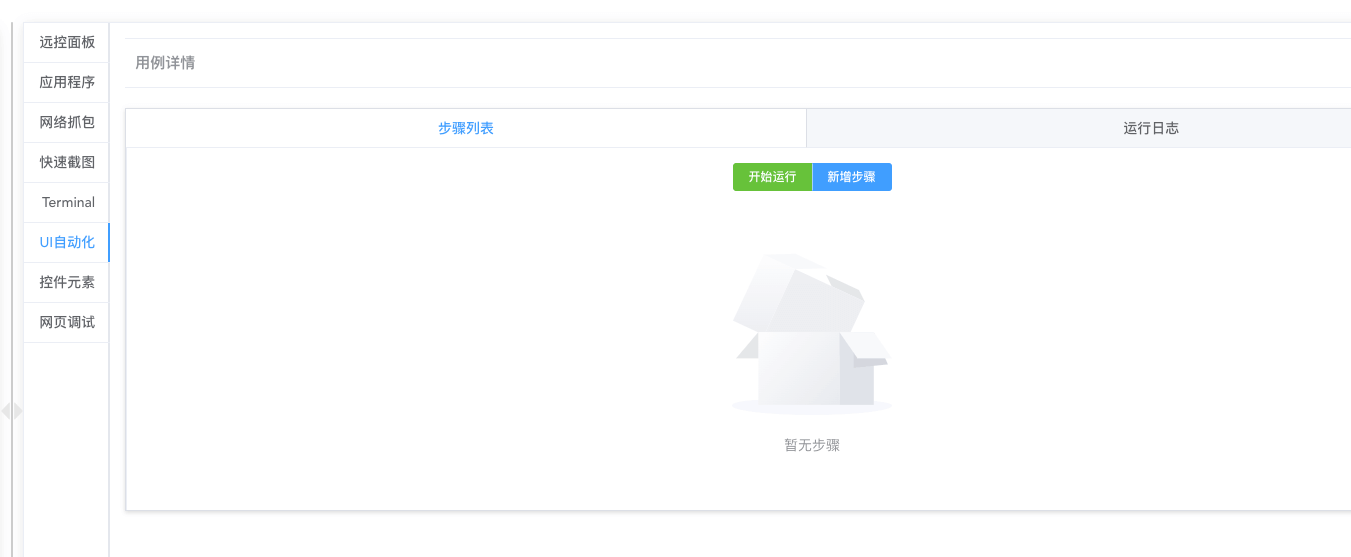
Get App package name
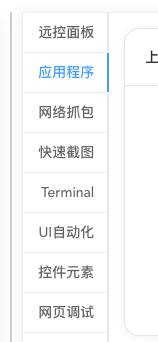
Click the [Application List] tab
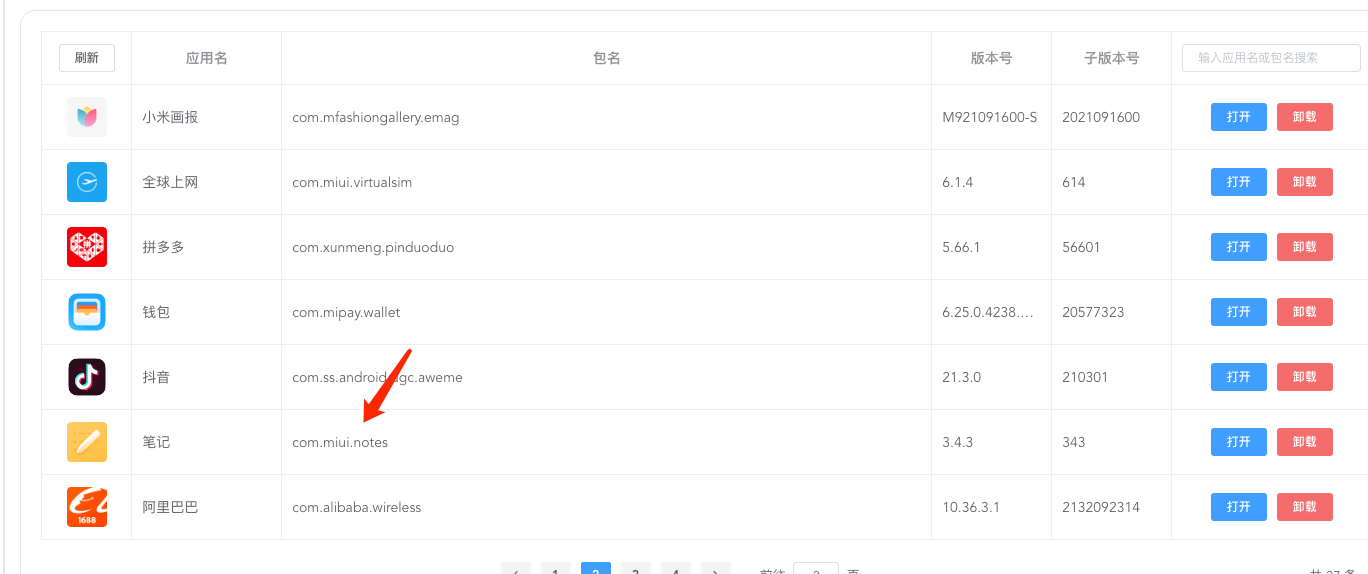
Find the package name of the app under test and click to copy it
Go back to the 【UI Automation】tab
Click [New Step] to create the [Open Application] step, paste the package name, and click Save
Get element
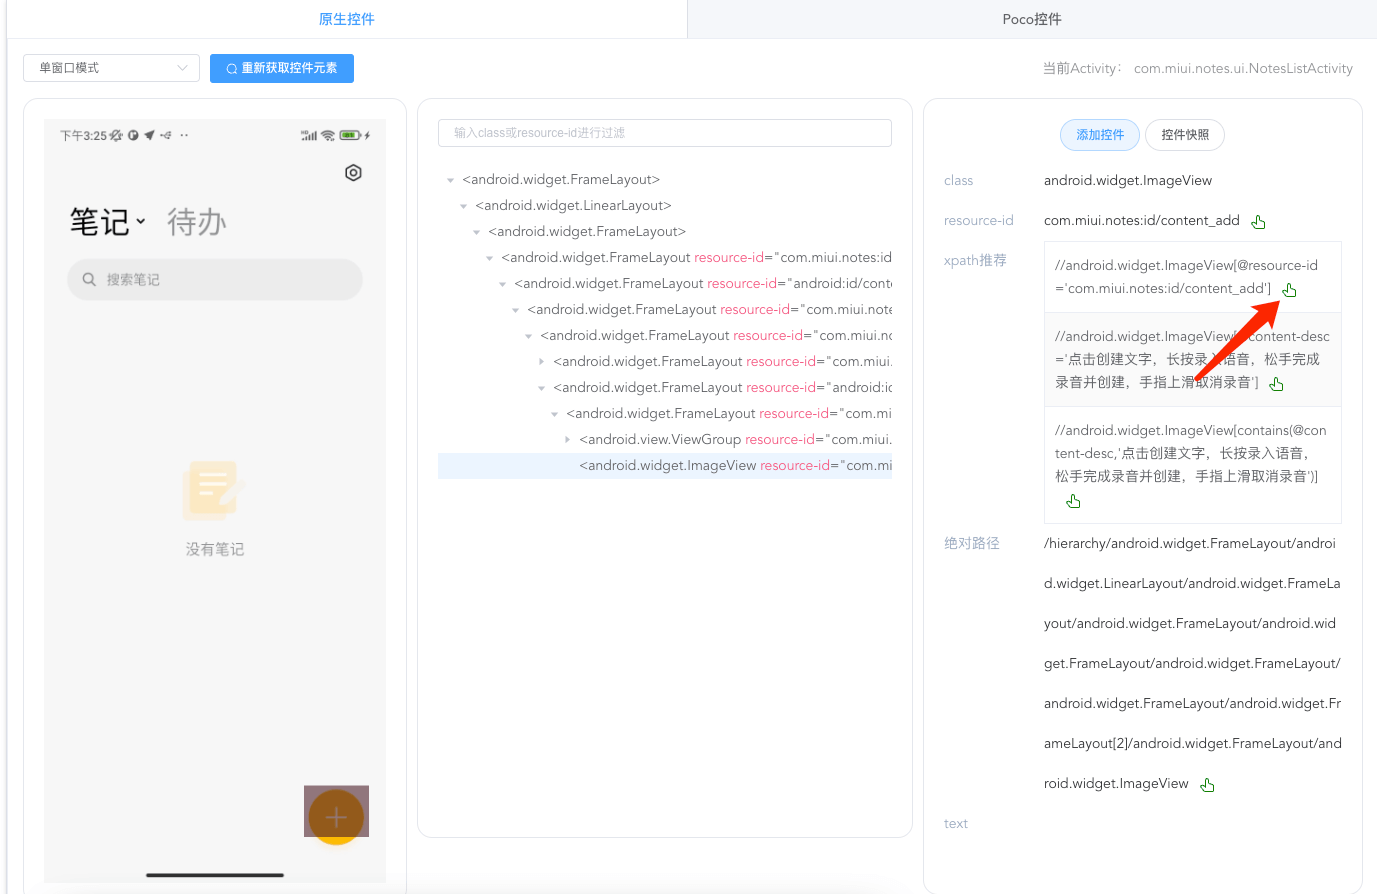
Click the [Element] tab, click [Get Element]
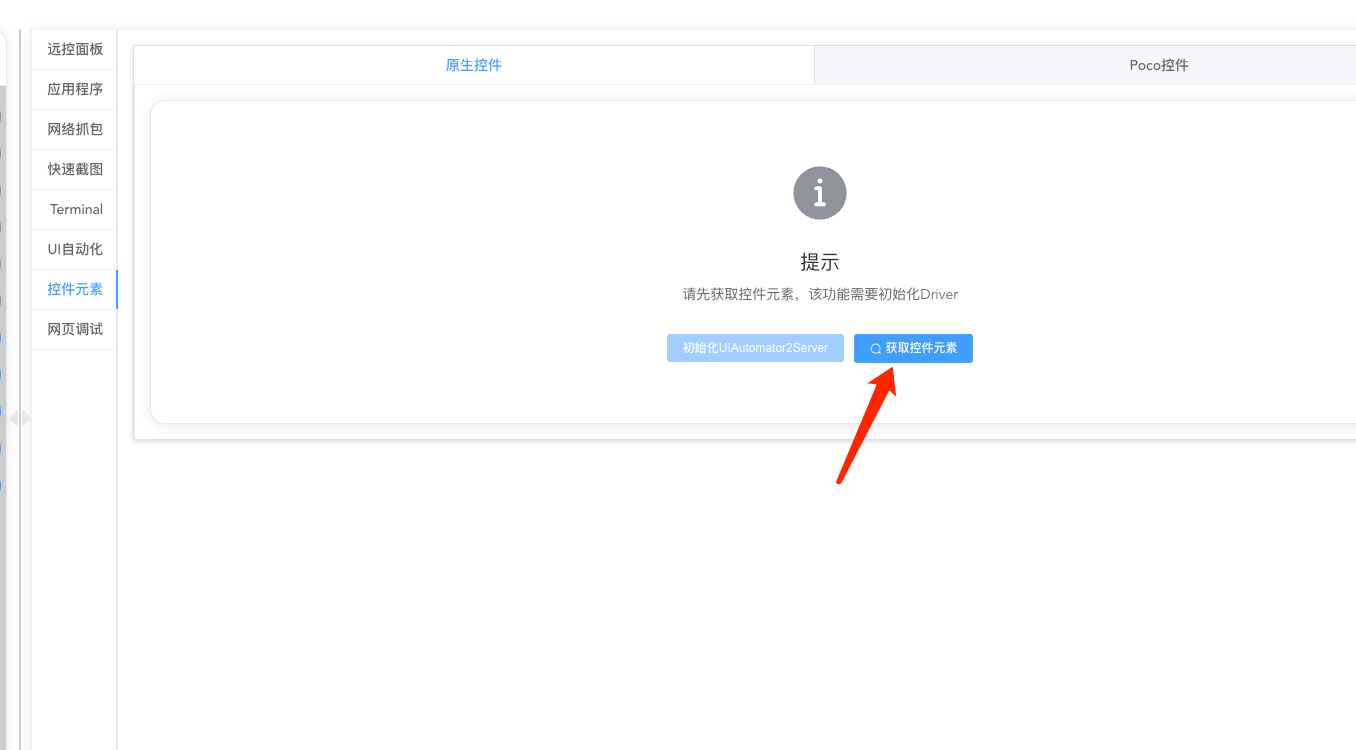
Click the Quick Add element button
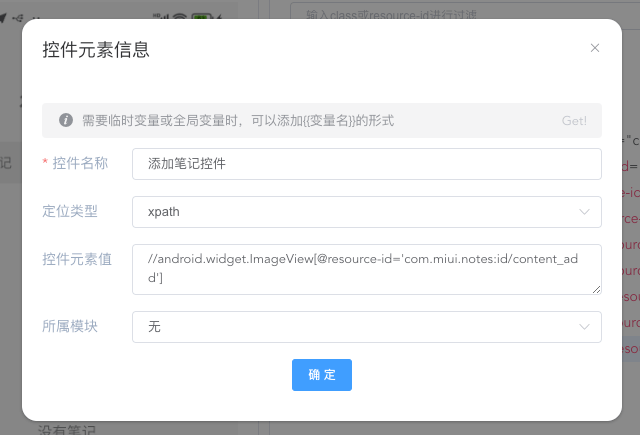
Save the input element name
Go back to the 【UI Automation】tab
Click [New Step] to create a [Click element] step, select the element you just added, and click Save
start debugging
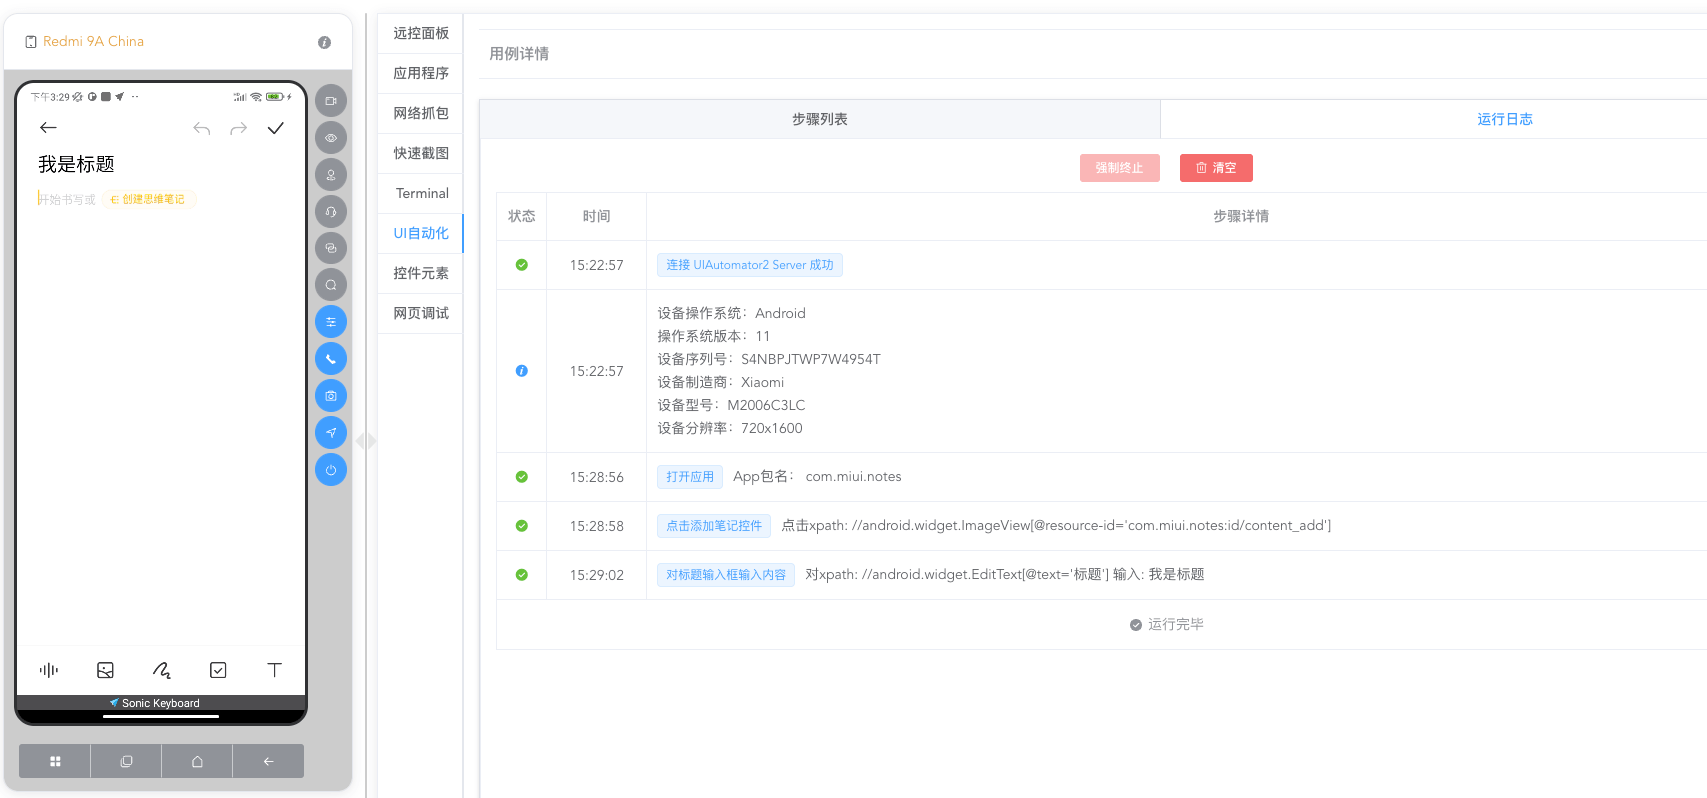
Check the newly added steps and click to start running

Check the log to ensure stable operation
Add test suite
Exit the remote control and enter the project of the app under test
Go to the Test Suite tab and click the Add Test Suite button
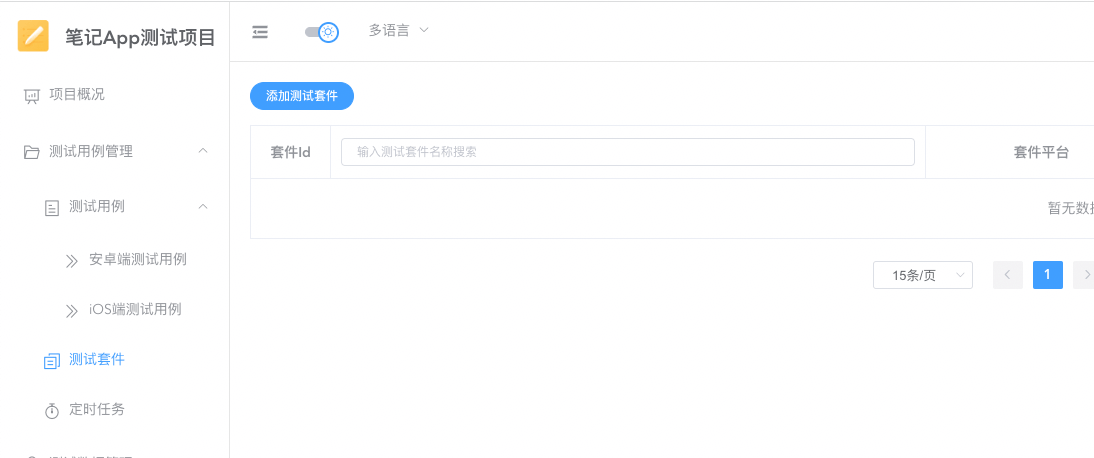
Fill in the relevant information and select the corresponding device
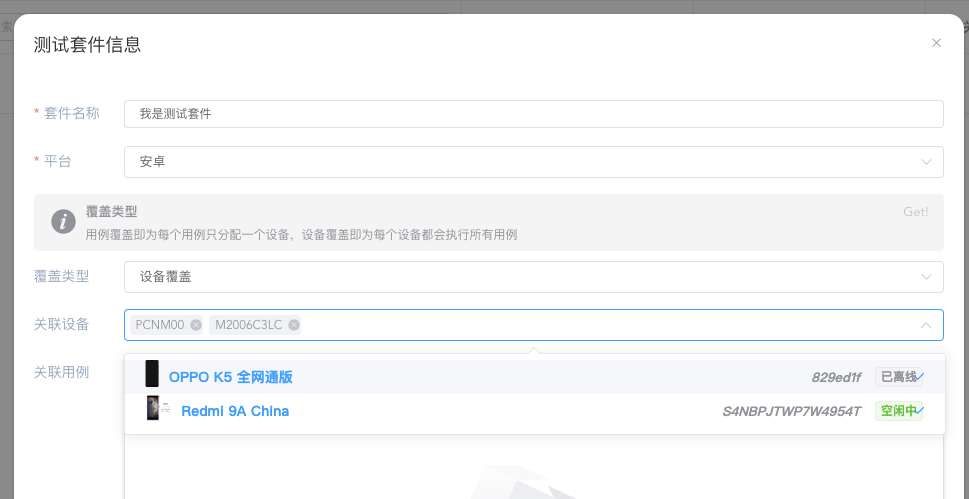
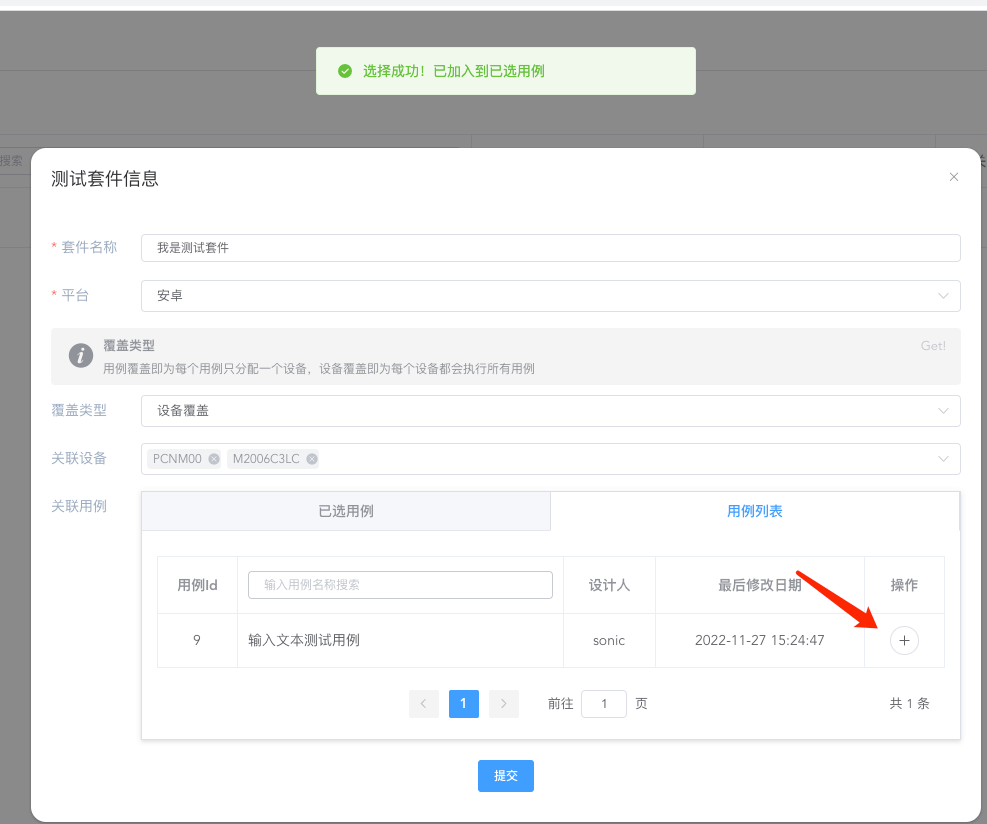
Select the test case that has just been debugged and add it to it
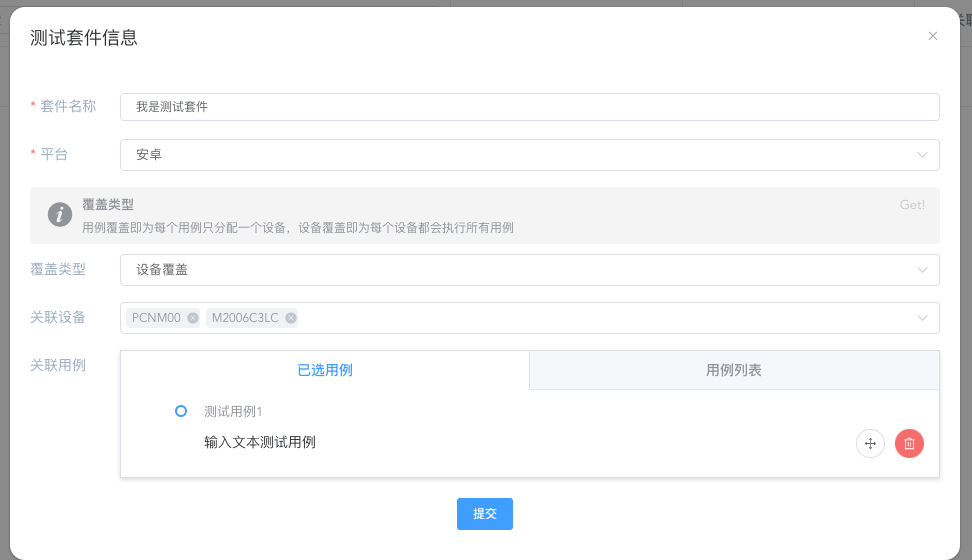
Check that the information is correct and click Submit
Run the test suite
Select the test suite just created and click Run

Click the test report page to view the execution results
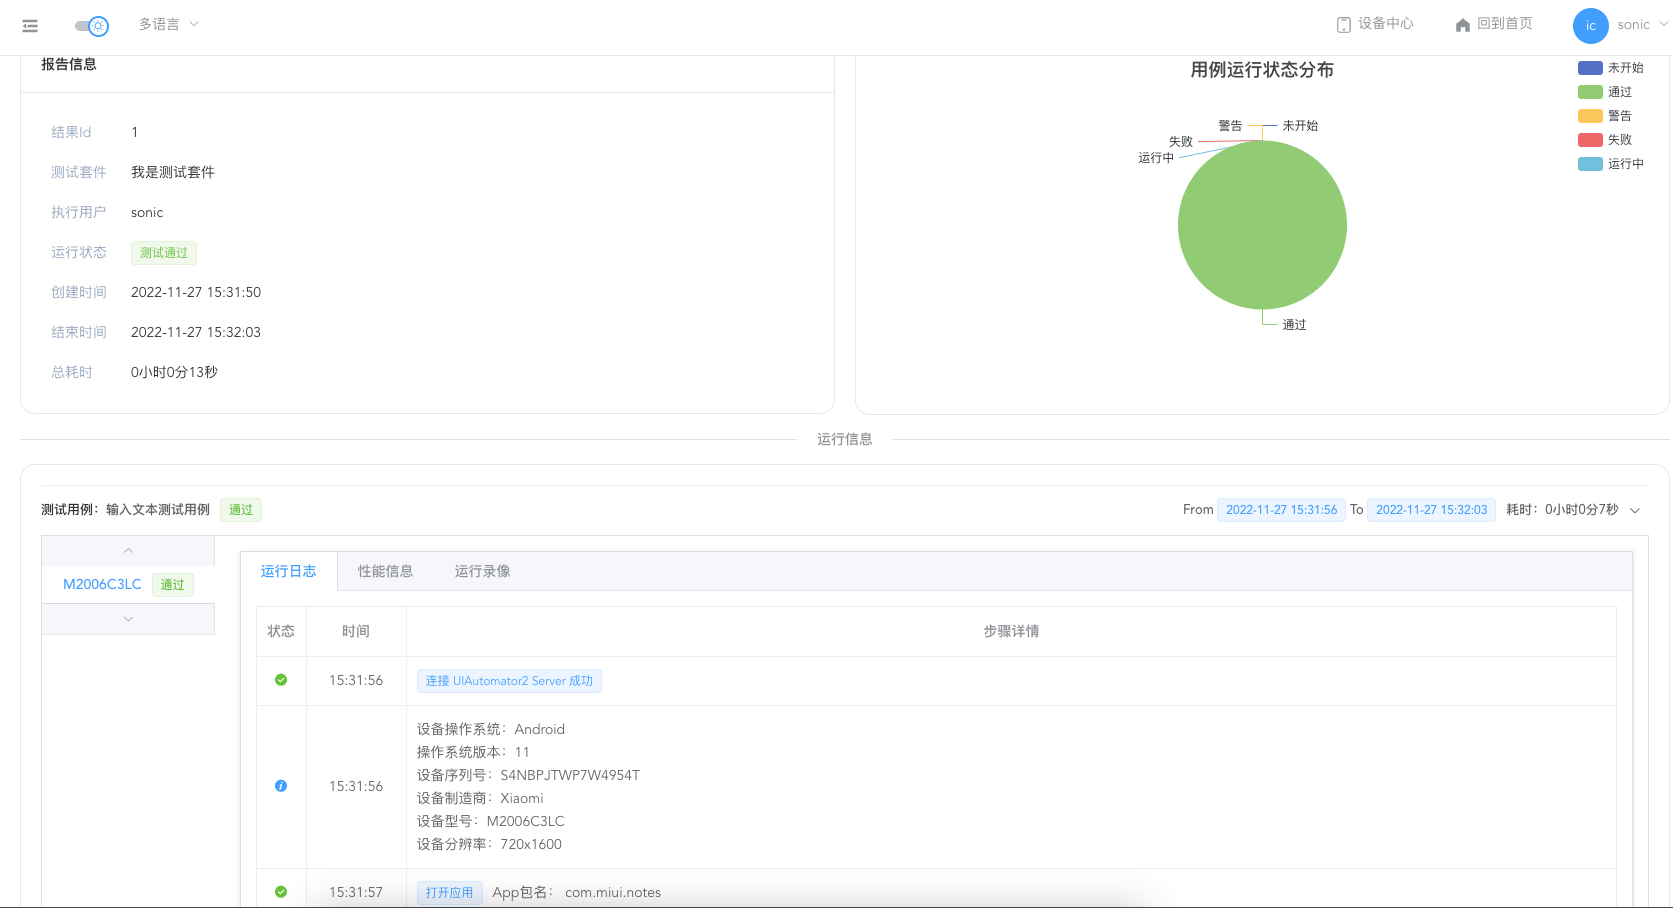
At this point, a simple UI automation process ends here.

