

Agent side deployment
This article will introduce how to deploy the Agent side.
note
Remember that only one Agent can be deployed on one host, the Key of each Agent cannot be reused, and multiple devices can be connected to the same Agent.
In order to use it normally, please keep it consistent with the server version.
Considering scenarios such as bandwidth consumption and data transmission speed during remote control, it is recommended that the Agent use a wired network environment instead of a wireless network.
jar deployment
This method will deploy Agent, Appium and other environments with local jar packages.
- Some JDKs are known to be incompatible. Sonic officially recommends using JDK17, you can go here to install the downloads.
- Add an Agent from the [Agent Center] of the deployed front-end interface [Device Center], and record the Key of the Agent.
TIP
From v2.5.3, in order to reduce user deployment costs, Agent has built-in adb under the plugins folder.
However, it is known that multiple adb-servers working at the same time will cause preemption problems, so if you have other adb-servers working locally and want to use your existing adb or the version is lower than v2.5.3, you need to add these two steps:
- Set the Android SDK to the system environment variable, named ANDROID_HOME. Open SDKManager and download platform-tools. Make sure the platform-tools directory exists and the adb command is available.
- Add ANDROID_HOME, ANDROID_HOME/platform-tools to the system PATH.
- Select PC corresponding platform zip to download and unzip to any directory (marked as working directory, if the following acceleration link fails, please go to here download)
- Grant all permissions to the working directory, and then make sure that the decompressed mini, config, plugins folders are at the same level as the jar
bash
$ sudo chmod -R 777 xxxxx
- Modify the configuration information of application-sonic-agent.yml in the config folder and save it.
- Execute the following commands under the path of Working Directory.
TIP
- If you are a
Windowsuser, please enterchcp 65001in the console and press Enter, and then enter the following command
In addition, if you need to use the Python custom script function, you also need to enter set PYTHONIOENCODING=UTF-8 in the command prompt before entering the following command to avoid garbled output from the Python script.
- If you are a
Macosxuser, please check the common question Q1 below for configuration before continuing with the following instructions
bash
java -Dfile.encoding=utf-8 -jar sonic-agent-xxxx.jar
- Deployment complete! You can go to the device to access document (please place the device vertically or flatly, and rotate it left and right may affect the coordinate positioning).
Docker deployment
warning
Docker deployment is only available for Ubuntu! Only available for Ubuntu! Only available for Ubuntu!
For non-Ubuntu systems, please use the above jar method to deploy!
This method will deploy the Agent and the required environment at one time.
Preparatory work: Docker, Sonic front and back ends are deployed
- Add an Agent from the [Agent Center] of the deployed front-end interface [Device Center], and record the Key of the Agent.
- Click here to download the latest docker-compose. yml, refer to the comments to modify the content inside. (If the acceleration link fails, please go to here to download)
- Execute the following instructions (change the parameters by yourself according to the prompts).
bash
docker-compose up -d
If you are a user from mainland China and access to DockerHub is slow, you can choose one of the following two points:
- Configure domestic accelerated image sources (recommended)
- Click here to download docker-compose-zh.yml and execute the following instructions to directly use the accelerated image (not recommended, the acceleration source may be unstable or the network fluctuates, and docker-compose -f docker-compose- zh.yml down)
bash
docker-compose -f docker-compose-zh.yml up -d
- Deployment is complete! You can go to the device to access document .
- (Appendix) If you are not familiar with Docker, it is recommended to use jar deployment.
Frequently Asked Questions (Q&A)
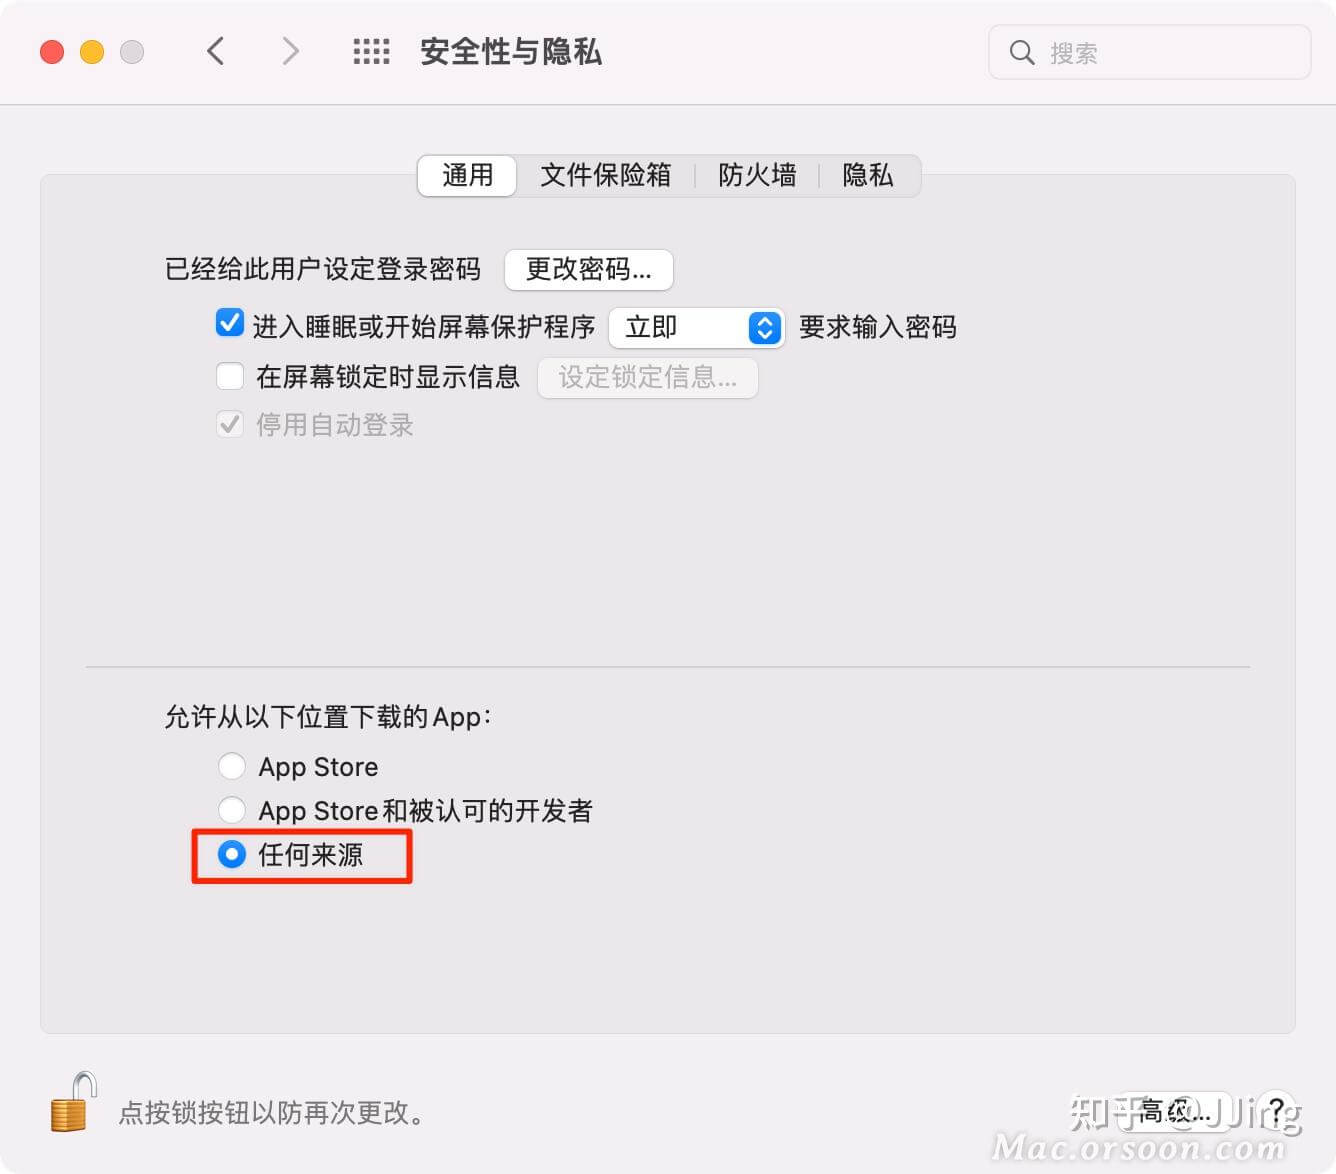
Q1: Are there any precautions for deploying on Mac?
A1: You need to trust the source of Sonic, otherwise some plugins will not start properly.
- Terminal input
sudo spctl --master-disable
- [Security and Privacy] Release any source permissions.
Q2: Obviously configured ANDROID_HOME, and adb is available, why is it still not detected ANDROID_HOME?
A2: After configuring ANDROID_HOME, PATH also needs to be configured. Verify that echo %ANDROID_HOME% (win) or echo $ANDROID_HOME (mac or linux) outputs correctly.
Q3: Check the log and find that it is not connected to the server, how to solve it?
A3: Mainly divided into a variety of situations:
- The Key configuration is incorrect, and a Key can only be used by one Agent.
- All ip cannot use localhost, 127.0.0.1 and other configurations.
Q4: Check the logs and find that the time zone is incorrect, and the time zone of the host machine is correct. How to solve it?
A4: You can refer to this post
Q5: There will be sonic-android-supply or other plug-in security pop-up windows when starting on Mac?
A5: It is recommended to follow the answer in Q1 above for the best solution, otherwise it can be solved in this way. Mac: System Preferences -> Security & Privacy -> General, click Trust or Open anyway.
TIP
For more questions, please go to 👉Community👈 to communicate